

Import Contacts to G Suite
When your business switches to G Suite, you’ll have to migrate your contacts from an existing email address. You can import all Contacts to your new G Suite account manually or automatically. In this article, we’ll be going over the steps of both methods.


When your business switches to G Suite, you’ll have to migrate your contacts from an existing email address. You can import all Contacts to your new G Suite account manually or automatically.
In this article, we’ll be going over the steps of both methods.
Table of Contents:
Changing from Gmail to G Suite
After enjoying working with Gmail, many users are now moving their business operations to Google Workspace (previously G Suite).
The strategic decision to migrate to Google Workspace is actually a smart one. Whether you’re a new business or large enterprise, Google offers some of the best tools for collaboration, organization, and security:
- With a G Suite account comes a brand-new business email, giving your business a professional appeal.
- You will have unlimited storage for your photos, files, documents, and emails.
- You will have your team collaborating on the same documents at the same time.
And the best thing of all – G Suite is simply a professional version of Gmail, so no training is necessary. You can set it up and use it right away.
How do you transfer Contacts to Google?
After deciding to migrate business data from Gmail to G Suite, you may need to find a way to transfer it quickly and hassle-free.
The fact is though there is no fully automated way to move Gmail data to G Suite. You will need to transfer data manually.
There are a few ways to get around Contact transfers in Google:
- Import and export data manually
- Use a third-party tool to automate the workflow
Transferring data manually entails exporting Contacts from one Google account and importing it to another.
The main benefit of this solution is that users can pass files over to anyone, no matter if they are inside or outside the organization. As it will be done manually though, Contacts will never be up-to-date in real-time.
On the other hand, third-party tools can transfer any number of address books between users in a few minutes. You will only need to set up synchronization once to see old and new entries automatically in real-time.
Another benefit of using a third-party tool is that users can choose the data transfer method that works best for them:
- Set up synchronization between accounts
- Share Contacts with anyone inside or outside the organization
Let’s look at the manual and automatic methods one by one.
In case you want to go straight to the automated process, scroll down to “Transfer Contacts to G Suite automatically”.
Export Contacts from Gmail manually
Here’s how to export Gmail Contacts manually.
Step #1. Open Gmail in your browser and Sign in.
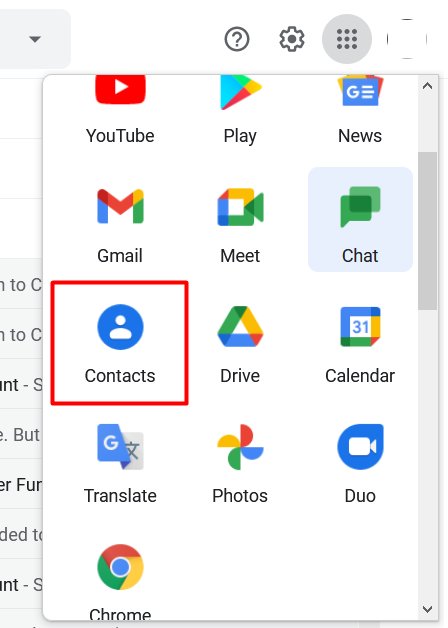
Step #2. Open the Contact Manager by clicking on the Apps grid and selecting Contacts.
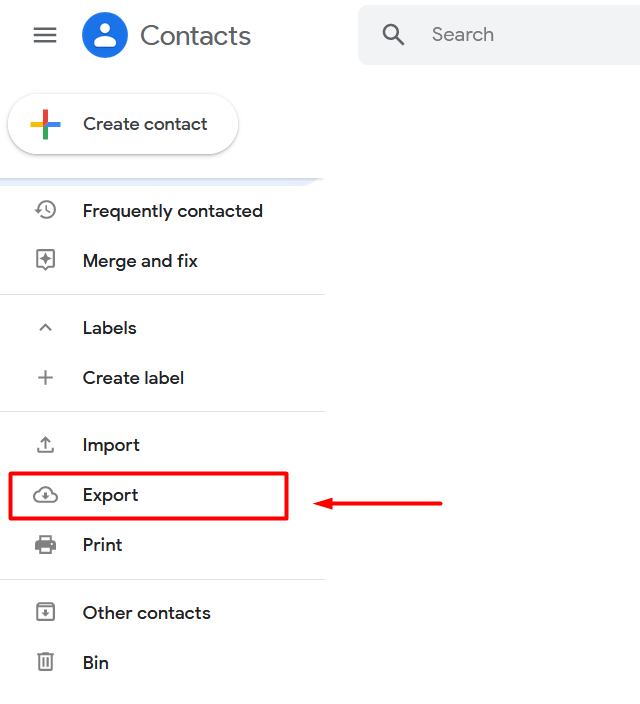
Step #3. Find the Export option on the left panel.
Step #4. Select which contacts to export in the pop-up window.
In the drop-down list, select which Contact Group you want to bring to your new account. Select All contacts to get everyone.
Then, choose the file format (Google CSV is ideal if you want to import your contacts to another Google account later).
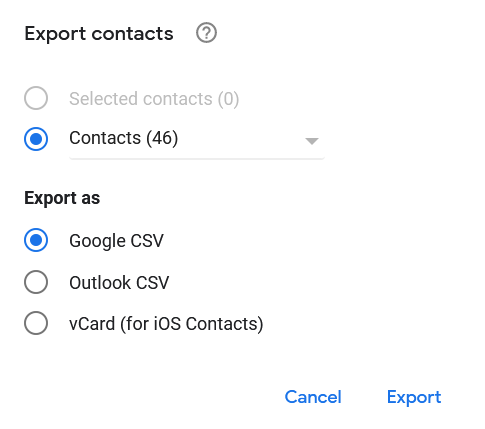
Step #5. Click Export.
Step #6. Save the .csv file to your computer.
Now that you’ve exported your Gmail Contacts to a CSV file, you are ready to import it to another Google account.
Alternatively, you can send the file to a friend or colleague who needs to import the Contacts to their Google account.
Import Contacts to G Suite manually
Import Contacts to your G Suite account by following the steps below.
Step #1. Open Gmail in your browser and Sign in to your G Suite account.
Step #2. Open the Contact Manager by clicking on the Apps grid and selecting Contacts.
Step #3. Find the Import option on the left panel.
Step #4. In the pop-up window, select the CSV file that you have previously downloaded.
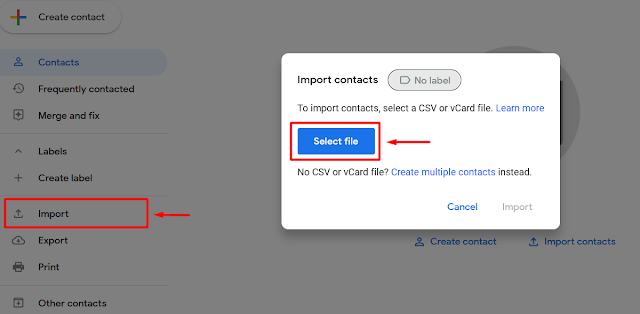
Step #5. Click Import.
Now, all your Gmail Contacts have been imported to your new G Suite account.
If you’re ever dissatisfied with the import, use the Google Contact Restore feature to reinstate your previous Contact list within 30 days.
Note that your two Google accounts are not kept in sync when transferring data manually. If you enter any new Contact into Gmail, it will not appear in G Suite.
Read on to know how to automate data transfer and set up synchronization between two Google accounts.
Transfer Contacts to G Suite automatically with SyncGene
Let’s go through the steps on how to transfer Contacts from one Google account to another with SyncGene.
Step #1. Log into your SyncGene account via the web or the mobile app.
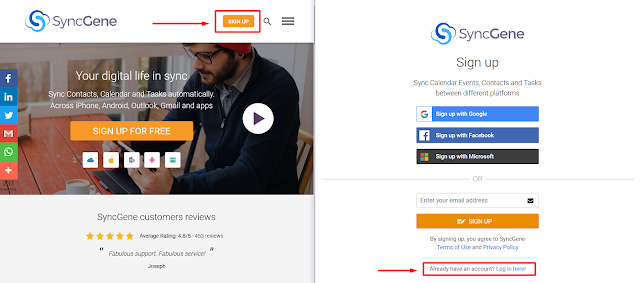
Step #2. Add your Gmail account by clicking on Add Source and choosing Google. Enter your credentials.
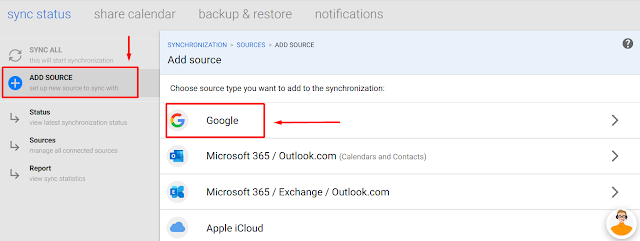
Step #3. Add the G Suite account the same way.
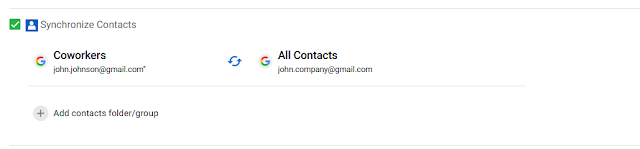
Step #4. Once your accounts are set up, choose the folders that you want to synchronize. Click “Sources” on the left panel and choose “What to sync”.
Step #5. Choose synchronization directions. Click “Sources” and then choose “Directions”.
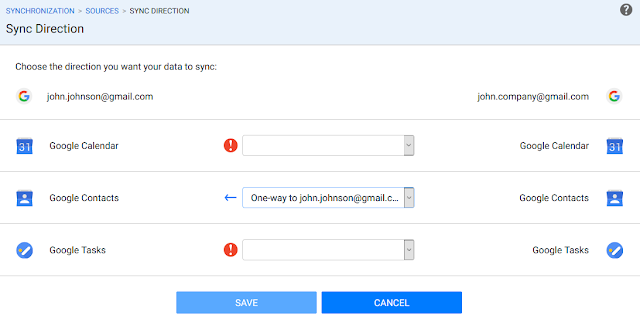
Choose between one-way or two-way synchronization.
Step #6. Click “Save” to process your workflow and “Sync All” to start the synchronization.
You’re all good to go! All business Contacts are in your brand-new G Suite account. You will start seeing new contact entries on your Gmail and G Suite automatically, as changes are made.
Share G Suite Contact list automatically with SyncGene Enterprise
SyncGene doesn’t just sync between your Gmail and G Suite accounts – you can also share and edit Contact list with your team on Google, iCloud, and Office 365.
You can create a single list for all company Contacts in seconds with SyncGene Enterprise.
And here’s how to do it.
Step #1. Have an active SyncGene Enterprise plan.
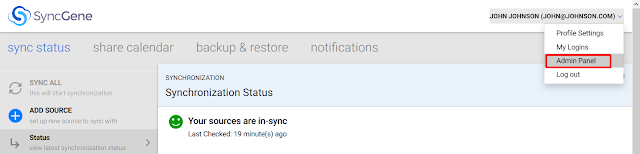
Step #2. Go to SyncGene and log in.
Step #3. Select “Admin Panel” located under your profile information.
Step #4. Select “Members” to add users into the SyncGene Enterprise account and set up at least 1 source for each member.

Step #5. Select “Share Setup” to open the folder for Contact management.
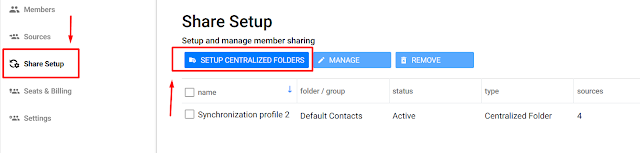
Step #6. Click “Setup Centralized Folders” to create a new Contact folder.
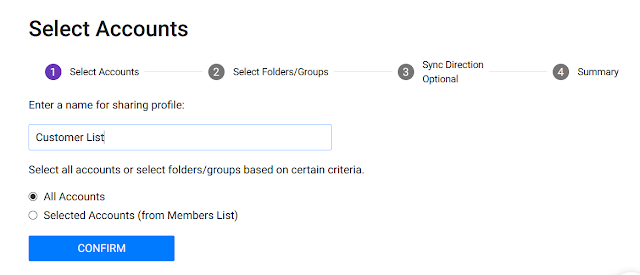
Step #7. Create the name of your Contacts folder and choose which members from your Enterprise will access the list. Select “All Contacts” to include them all.
Step #8. Select which Contact folders will be added to the list. Choose “Default Contacts folder/groups” to take all Contacts from selected sources.
If you need to take Contacts from a specific folder, select “Custom Contacts folder/group” and enter the name.
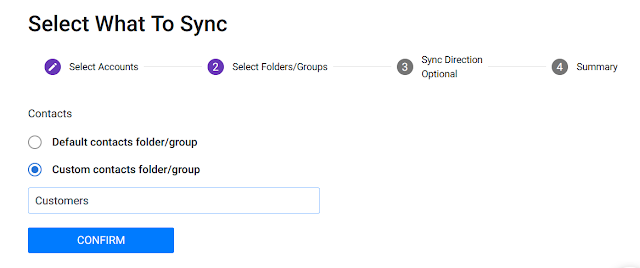
Click “Confirm”.
Step #9. Select which members from your Enterprise account can edit the Contact list, and who can view it only, without permission to make changes.
Determine these permissions by setting synchronization directions.
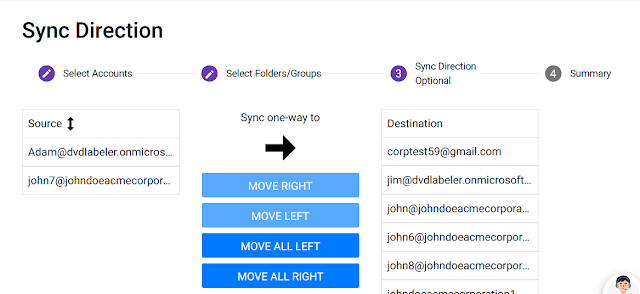
All members on the left column will be able to make changes to the Contacts list. Members on the right column can only view the Contacts. Change permissions by moving each member right or left.
When you are all set, click “Confirm” to move forward.
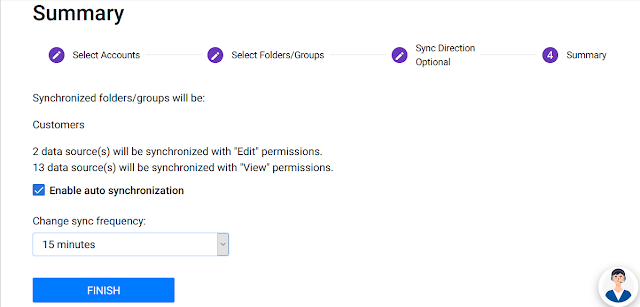
Step #10. Review your settings and click “Finish”.
Wrapping up
And that is it! These are the ways you can import Contact list to G Suite automatically and manually.
See how easy it is to move data with SyncGene? And think of all the time that you will save.
What are you waiting for? Get started with SyncGene now!
If you have any questions, send us an email, give us a call, or start a Live Chat and we will be happy to help.
Read more:


%20white.svg)
.svg)